OK, I recently posted here about the new BEAST v1.8.3 release to let people know it was available (just echoing the announcement from Andrew Rambaut). Not sure about you, but when I get ahold of a new version of BEAST, I generally get it set up in my file system and try to run it. It’s good to go into this type of thing with a little dose of skepticism, as in my experience new versions of BEAST contain bug fixes but also seem to introduce new bugs or problems that you can run into. I think this is why some users avoid the latest updates; I mean, I still see papers publishing analyses using BEAST 1.6.1, for example, which was released a couple of years ago. At any rate, a test run can be very illuminating, so I downloaded the updated BEAST distribution and tried testing a very simple xml input file that should definitely have run. Unfortunately, I found that BEAST wasn’t running “out of the box” for me. Luckily, this was due to issues having nothing to do with the new version of BEAST!
Here, I’m going to detail how I encountered and overcame issues installing and running the new BEAST version. I hope this helps others set up BEAST on their computers and get it going. I’m going to start with the download, then touch on Java, CUDA, Beagle, and putting BEAST on a LINUX-based supercomputing cluster. Some actions I’ll cover may require admin privileges. If you don’t feel like reading the whole post, here is a brief summary:
Before using the new version of BEAST,
- update Java,
- update your Beagle library,
- update NVIDIA CUDA drivers, and
- put the UNIX/LINUX version of the updated BEAST software up on LINUX-based supercomputers and use it…
While this is probably a good enough reminder for veteran users, BEAST beginners will want to read the _whole post that follows _if the topic of installing and running BEAST on mac or UNIX/LINUX is of interest.
Assumption: updated version of Java
NOTE: Everything we’ll go through below assumes that you have the most recent version of Java running on mac. Without an updated Java version, you might complete some of these installs and updates only to find that BEAST would fail to run on your system. So, before proceeding through the rest of the post, I recommend that you first stop and verify your version of java by clicking here, clicking “Verify Java version” button, and doing an install/update as needed based on the results…
Also note that having older version of Java on your system could pose problems for running BEAST (=beast-users Google group thread).
Problems from the start because of my mac
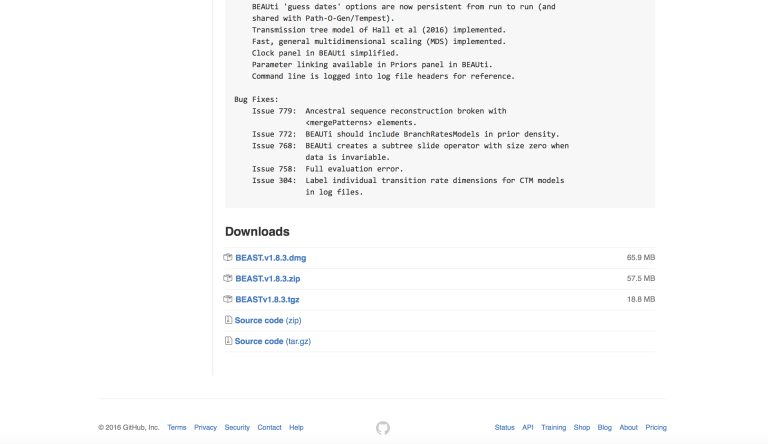
Given I use mac, I installed BEAST by downloading the 1.8.3 dmg file from the BEAST v1.8.3 GitHub site (see screenshots of site and links below) and opening it, then moving the new software files to a folder in my Applications directory.
My first attempt with BEAST v1.8.3 failed and resulted in several warnings and errors, one of the most significant of which was an exhortation to download the newest version of the Beagle library. I don’t have a screenshot of the error, but it occurred near the top of the run log… (look for something that starts like this: “WARNING: …“). The moral of the story here is that when you get a new version of BEAST, you should automatically check to make sure you have an updated version of Beagle.
Updating Beagle…and CUDA drivers on mac
Beagle is a free, open source application programming interface (API) and library for phylogenetic inference calculations developed by Mark Suchard and Andrew Rambaut, and colleagues. The Beagle library was designed to help ease the computational burden of phylogenetic modeling with codon-based/partitioned models. By drawing on Graphical Processing Units (GPUs) and cores using Beagle, the authors found a vast increase in computation time for Bayesian phylogenetic inference, relative to runs using CPUs for computation (see papers describing the method/library here and here).
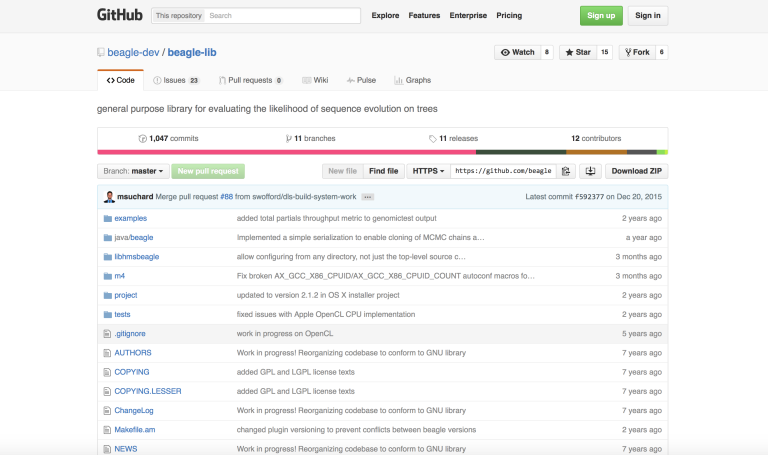
Fortunately, updating Beagle is very simple. To do this, I went to the Beagle download site on GitHub, and, according to the properties of my Macbook Pro laptop, I downloaded the appropriate binary installers by clicking on the “BEAGLE v2.1.2 for Mac OS X 10.6 and later” link, as shown in the screenshots below right.

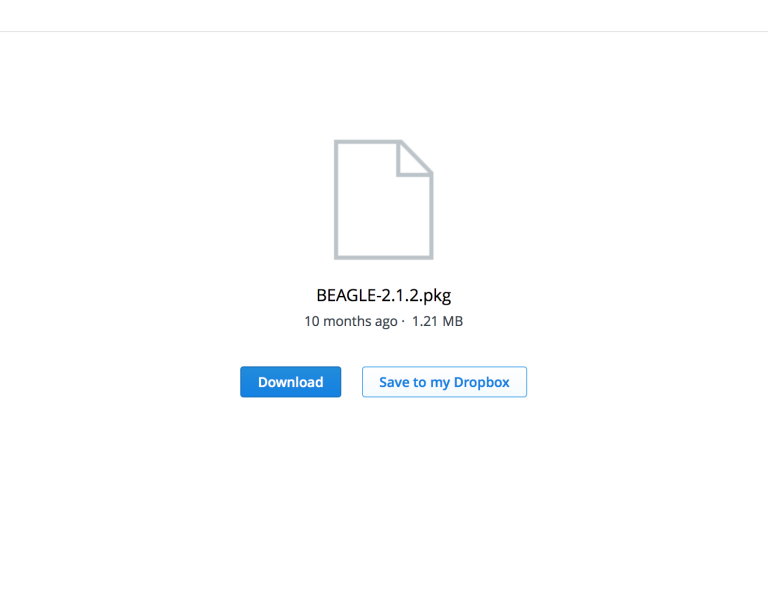
Surprisingly, this took me to Dropbox (screenshot below), so you may need to create a Dropbox account to download the file. I already use Dropbox, so I just signed in and clicked “Download” to get the “BEAGLE-2.1.2.pkg” file. Once you have this file on mac, all you need to do is double click on it and click through the install windows.
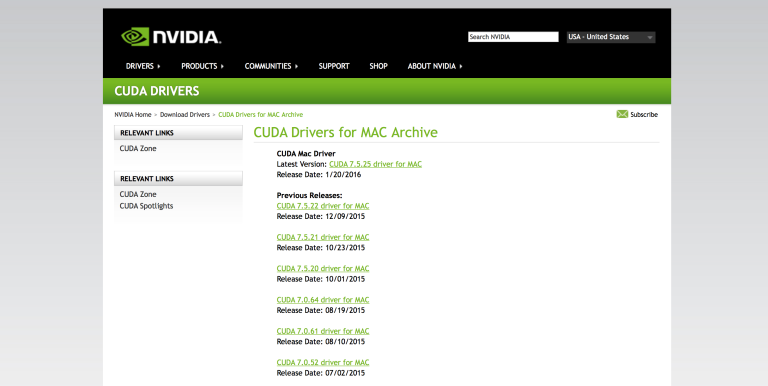
It is tempting to assume that installing Beagle would be sufficient; however, this may not be the case. Why is that? Well, you’ll probably want to run Beagle using a GPU, and so you will want to do one more step. If you look at the install instructions for Beagle, for example by clicking the “Instructions for installing BEAGLE on Mac OS X” link for mac users, you will find that, beyond getting the most recent Beagle version, the authors recommend that you proceed in a second step to install/update the NVIDIA CUDA drivers for mac. You just simply go here to get the updated drivers (top of list; screenshot below right), download and click on the new file to install CUDA. If you already have olderCUDA drivers on your mac, there’s no need to uninstall or worry about potential issues with a new install (e.g. “installing over” previous versions); this is irrelevant for mac users, but I am unfamiliar with potential related issues on windows.
After installing the above Beagle and CUDA updates, my test file ran when trying BEAST v1.8.3 on my MacBook Pro! So, that was great news!!
However, I don’t actually run my final BEAST runs locally. I run BEAST on an enormous supercomputing cluster at the Brigham Young University Fulton Supercomputing Lab. So, my next step was prepping and setting BEAST up on our cluster.
Setting the new BEAST up on a LINUX-based supercomputing cluster
As general comments, let me say that, with administrator access, you’ll be able to do more and do it faster when you install new programs. But without superuser privileges you probably won’t be able to follow the Beagle library install instructions for Linux given on GitHub, word for word. In this case, if you are also trying to get BEAST v1.8.3 / Beagle 2.1.2 up on a Linux-based supercomputing cluster, I recommend that you get with your cluster administrator or maintenance group and request that they do the install for you (first beagle, then BEAST). This would be the best practice.
However, for those of you interested in a shortcut, the quickest and dirtiest way to proceed if you already have an earlier version of Beagle installed on your cluster would be to simply skip the Beagle update, and add the new BEAST to your supercomputing account and run it. I tested whether the new version of BEAST would run with an older version of Beagle and found that it ran just fine!
Either way, whether you update Beagle or not, you will want to update BEAST on your cluster by downloading the UNIX/LINUX binary and installing it. Remember, you can get the appropriate UNIX/LINUX download from the BEAST v1.8.3 GitHub site. Here, the correct file is the one with the “.tgz” extension (the site doesn’t tell you this is for UNIX, but it is; the file with the “.zip” extension is for Windows machines). This will be opened and converted to a “.tar” file on mac, so you will just need to double click on that and install from there to get the new software folder. Then move the folder to the appropriate user or lib directory on your supercomputer and remember to point to it in your run scripts.
~J